Deploy in Websphere
- Go to Applications > Application Types > WebSphere > enterprise applications and click "install"

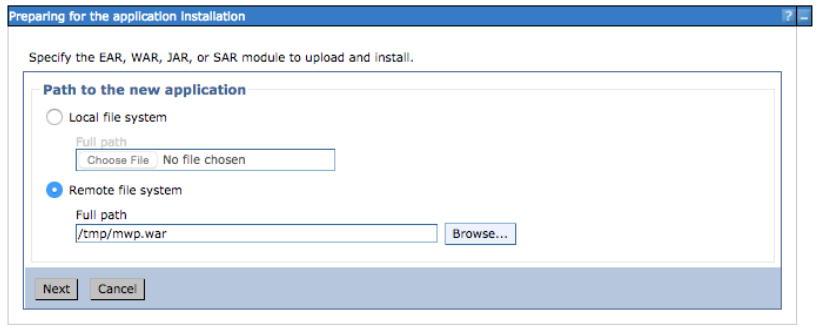
- Select the .war file from your local device or from the server of you already upload it.
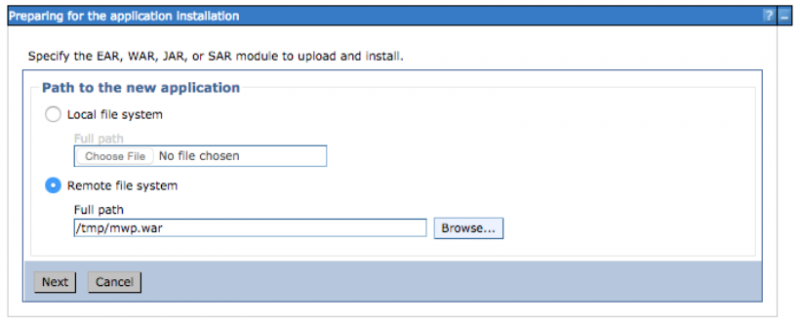
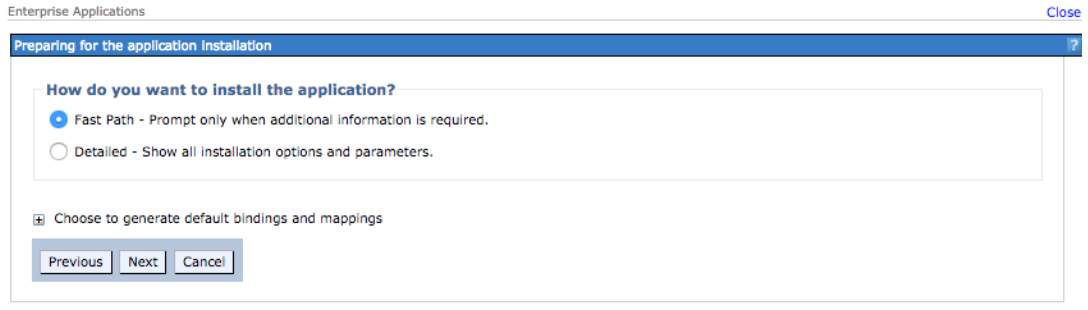
- Next
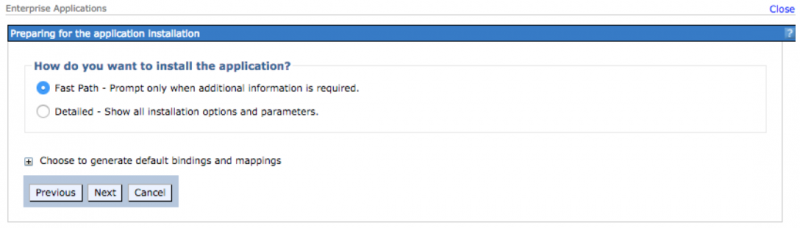
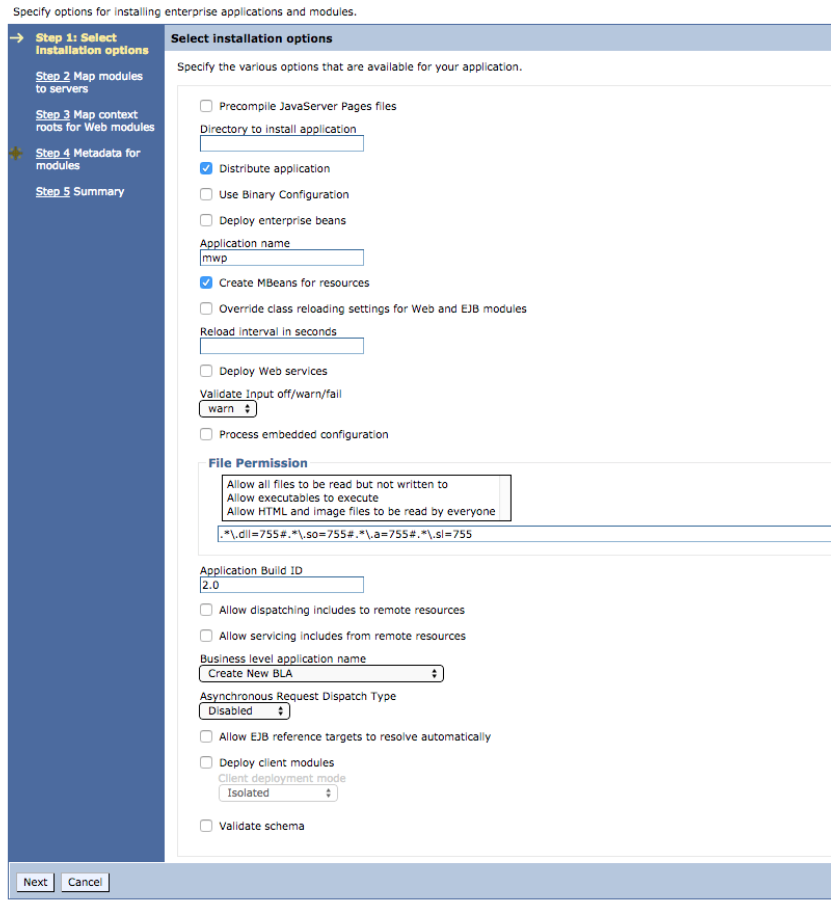
- Choose the application name:

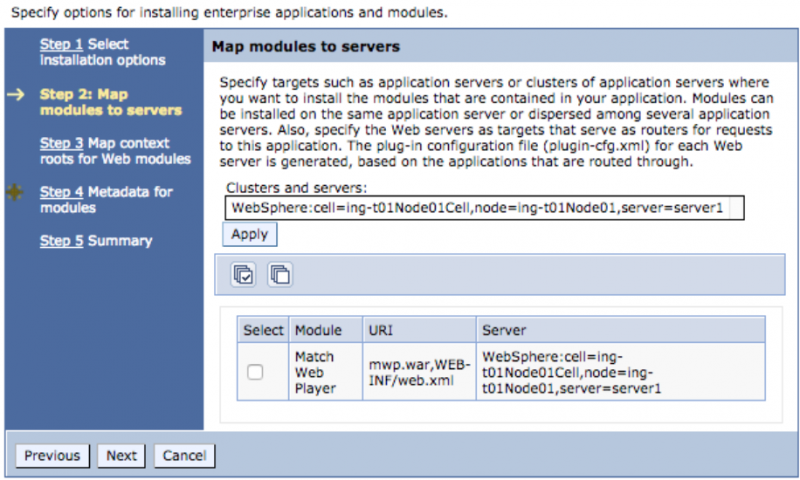
- In case you have multiple servers running, select the one where you want to put it and click apply (Otherwise it will be on the default)
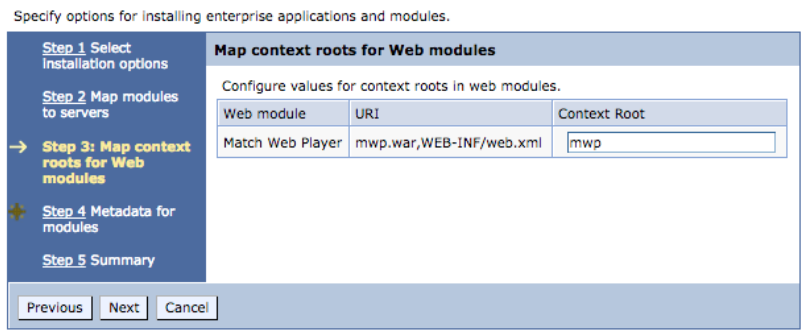
- Choose context root of you want to change it
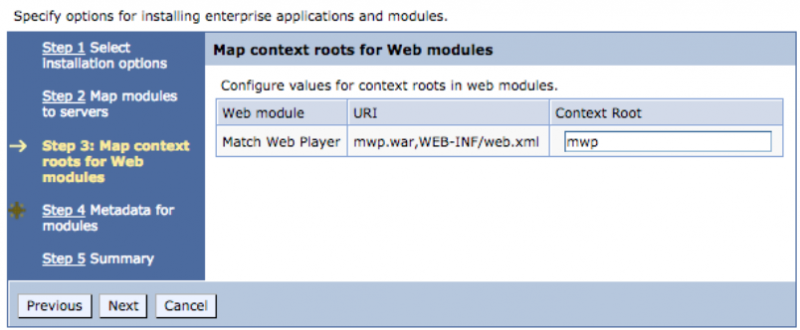
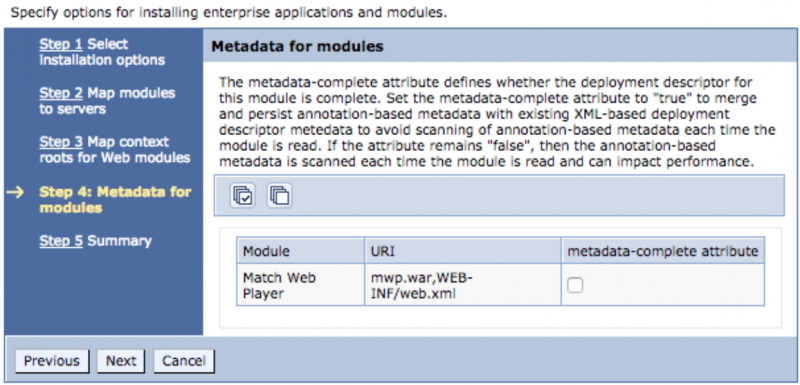
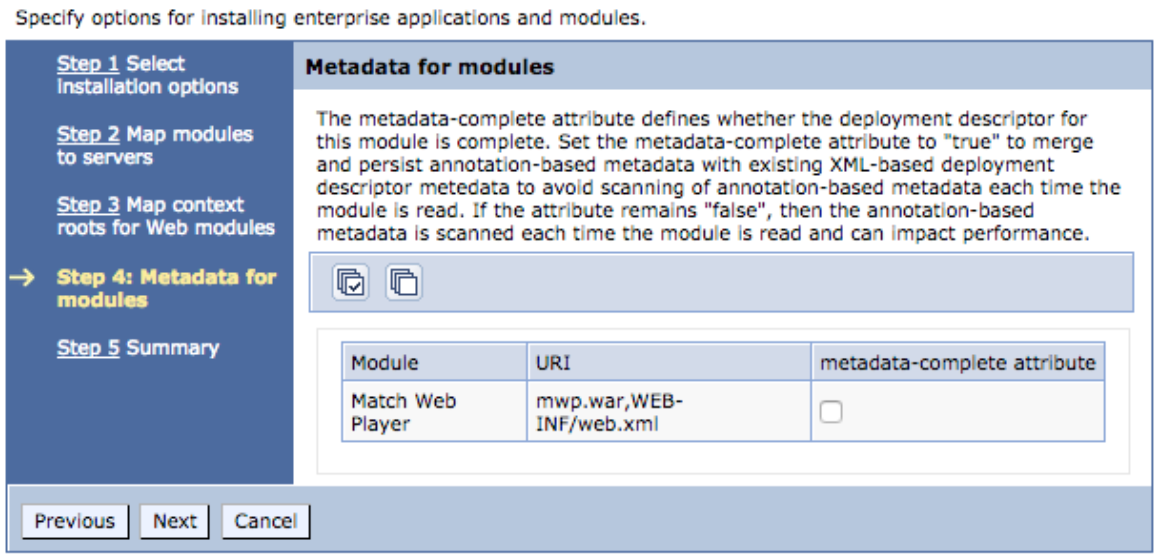
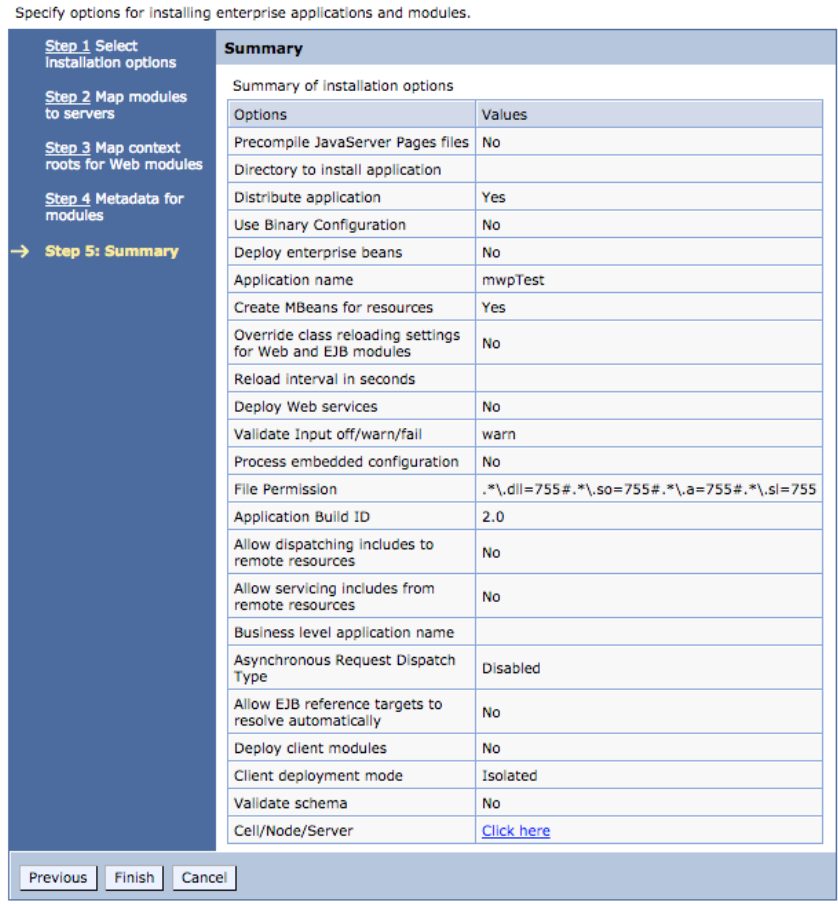
- Next and finish it everything looks correct on the summary


Application properties setup
- Go to Servers, Server Types and WebSphere application servers. Click the server where you installed the application.
- In Server Infrastructure, go to Java and Process Management and Process definition, Go to Java Virtual Machines, then Custom Properties
- You should have the next overview.
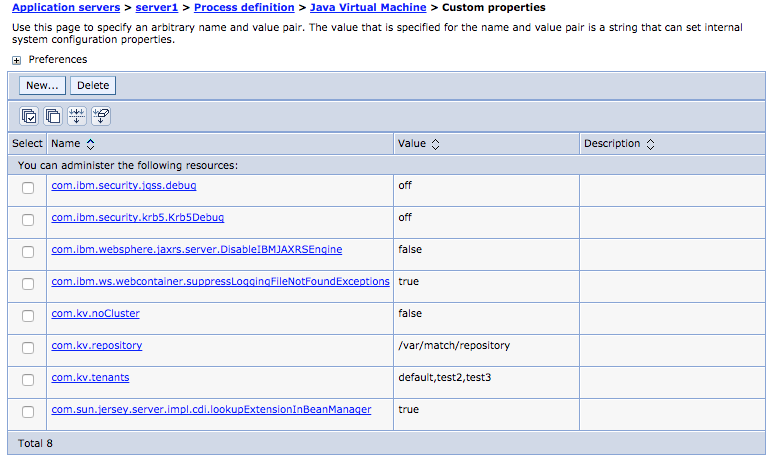
- Define the following properties
name mandatory value com.sun.jersey.server.impl.cdi.lookupExtensionInBeanManager yes true com.ibm.websphere.jaxrs.server.DisableIBMJAXRSEngine yes true com.kv.noCluster yes false com.kv.tenants no comma separated list of tenants' names. See also the general deployment instructions. com.kv.repository no path of the repository. See also the general deployment instructions. - Now, stop and start the server.
Note for Websphere Liberty
add in server.xml the following line
<classloading useJarUrls="true"/>